In our daily work, such as building staff rosters or product introduction sheets, there's often a need to insert numerous images that correspond to text entries in Excel. The usual approach involves inserting each photo manually into the respective rows and resizing them afterward. When dealing with a large number of images, this traditional method becomes time-consuming and tedious. However, we can streamline the process by leveraging batch processing and Excel formulas to generate 'linked image codes' for a single-step batch import and layout of pictures. Let's take the creation of a staff roster as an example. First, store the employee photos in a folder named "D:\Photos," organized by the employee's name.
Since Excel automatically generates image links based on filenames, we need to extract the photo filenames. This can be achieved using the Dir command. Open Notepad to create a batch file named "cfan.bat" and place it in the "D:\Photos" directory. The script should look like this:
Dir *.png /b > Name.txt
Explanation: This command extracts filenames of PNG images from the specified directory (change the extension if needed) and saves them into a file called "Name.txt" in the current directory (see Figure 1).
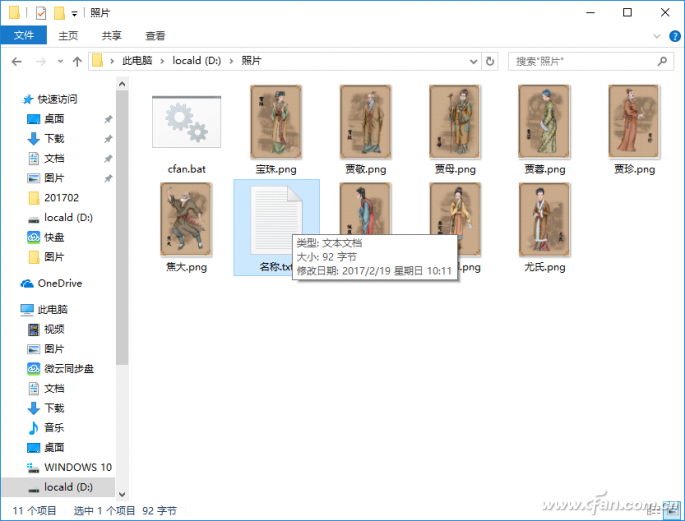
Figure 1: Generating the file list.
After running the batch process in "D:\Photos," open "D:\Photos\Name.txt" to view the filenames. In Notepad, click "Edit → Replace" and replace ".PNG" with nothing to remove the extension. Once completed, you'll have the filenames ready (as seen in Figure 2).
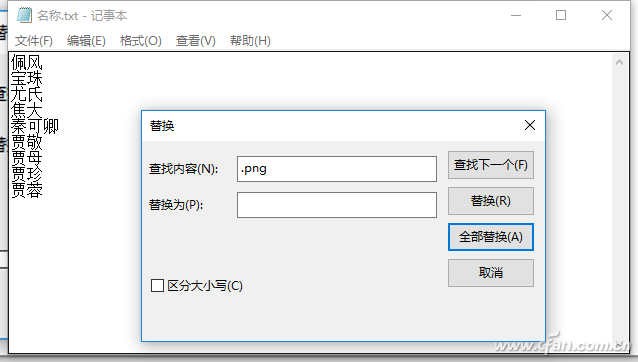
Figure 2: Replacement operation.
Copy these filenames and paste them into column A in Excel. Start entering the corresponding employee names in A2 and add any additional explanatory text as needed (see Figure 3).
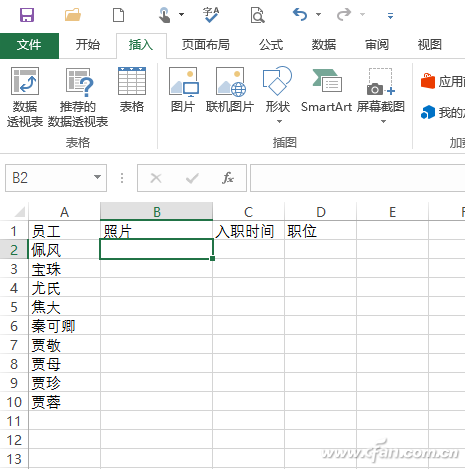
Figure 3: Pasting the extracted filenames into Excel.
Select cell B2 and click "Insert → Picture → From File." Choose the corresponding employee's photo and insert it into B2. Adjust the picture size so it fits well within the cell. Then adjust the row height and column width of B2—move your mouse over the row and column lines to see the exact dimensions displayed. Try selecting integer values; for instance, in this case, the width is 155 pixels (18.75 cm), and the height is 190 pixels (142.5 cm). Use these as the reference photo sizes (see Figure 4).
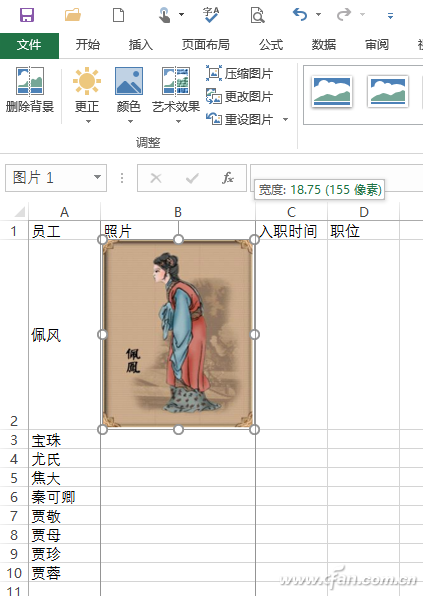
Figure 4: Determining cell width and height.
Select the entire B column, click "Home → Format → Row Height" and "Home → Format → Column Width," and set the row height and column width to the values shown in B2. This ensures all cells in column B are adjusted to the desired size, allowing the pictures to display properly. Delete the picture in B2, then select B2 and enter the formula "=IMAGE(" in the common column.
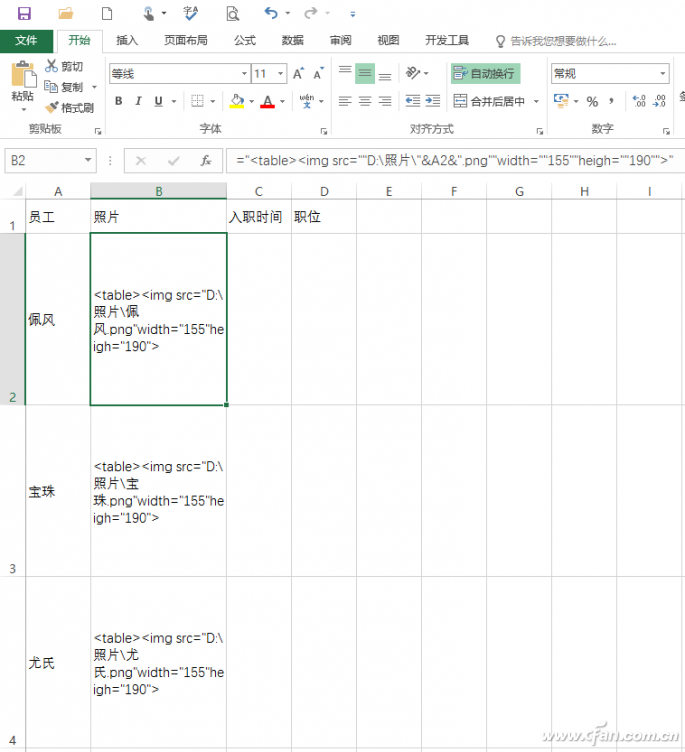
Figure 5: Inserting and filling the formula.
Formula Explanation:
The formula inserts a linked image in column B. The image name corresponds to the employee name in column A, while the width and height adjust the image to the specified pixel size. These parameters allow for batch adjustments of the inserted photos.
Select B2 and its filled formula cells, right-click, and choose Copy. Paste the copied code into Notepad. Return to the Excel window, right-click the cell with the inserted formula, and choose Clear Content to remove the insertion formula. Then copy the code from Notepad (see Figure 6).
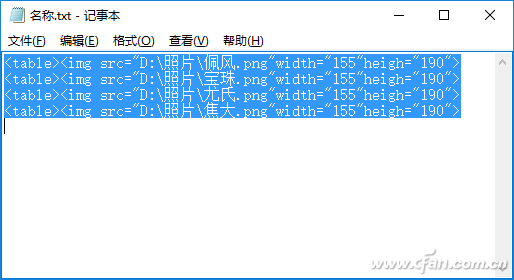
Figure 6: Copying the code to get it ready.
Select B2 in Excel, right-click, and choose Paste → Paste Special → Unicode Text. Paste the code into Excel as "Unicode Text," causing Excel to automatically read the linked image corresponding to the code (see Figure 7).
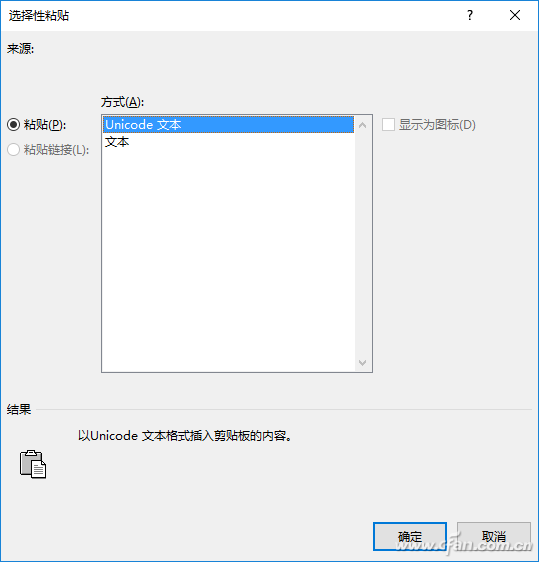
Figure 7: Special Paste.
Because Excel supports HTML code, the pasted Unicode text displays the linked image automatically, with the size adjusted by the code. The inserted image corresponds to the employee listed in column A, completing the batch insertion and automatic adjustment (see Figure 8).
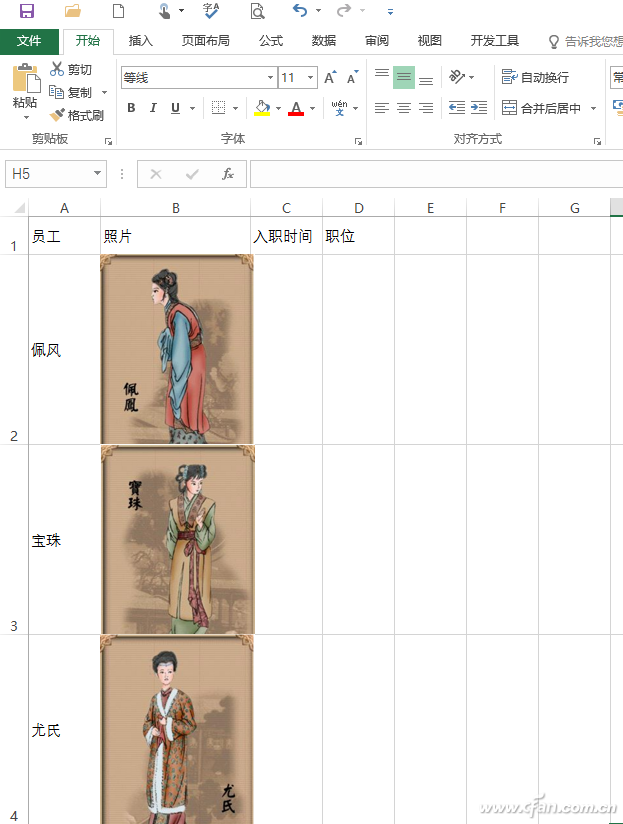
Figure 8: Automatic photo insertion.
Since the code links the images, replacing them is straightforward. For example, if multiple employees share the same name but differ in gender, this can be easily managed by updating the photo filename and the code. For instance, if the company has both male and female employees named Zhang Xing, add "(Female)" to the filename for the female Zhang Xing's photo. In column A, assume the employee name corresponding to A5 is also changed to "Zhang Xing (Female)." Delete the corresponding B5 photo, update the code in Notepad to "IMAGE("Zhang Xing (Male)")", and paste it into B5 in Unicode text format to achieve the replacement.
Hint:
The above method allows for batch photo insertion into Excel. To export the batch-inserted photos, save the Excel document as a webpage, which creates a "files" directory with the same name as the saved document, containing all the inserted images. Additionally, when inserting a photo, you can include it as a hyperlink with similar code, such as . While placing the image in a table results in a vertical arrangement, embedding it in the body leads to a horizontal layout.
Copper Lugs,Copper Cable Lugs,Plating Copper Cable Lugs,Copper Tube Terminal Lugs
Taixing Longyi Terminals Co.,Ltd. , https://www.txlyterminals.com