In our daily work, especially when creating staff rosters or product description sheets, there's often a need to embed numerous images alongside corresponding text in Excel. Traditionally, this involves inserting each photo manually into their respective rows and resizing them individually. When dealing with large numbers of images, this conventional approach becomes tedious and time-consuming. However, there's a more efficient way to handle this task by leveraging batch processing and Excel formulas to generate linked image codes. This allows for a one-step batch import and layout of pictures. Let's illustrate this with an example of creating a staff roster. First, store each employee's photo in a folder named "D:\Photos" under their name.
Since Excel automatically generates image links based on filenames, we must first extract these filenames. This can be done using the Dir command. Open Notepad to create a batch file called "cfan.bat", placing it in the "D:\Photos" directory. The code should look like this:
Dir *.png /b > Name.txt
Explanation: This command extracts filenames of PNG images from the specified directory (adjust the extension for other formats) and creates a "Name.txt" file in the current directory (see Figure 1).
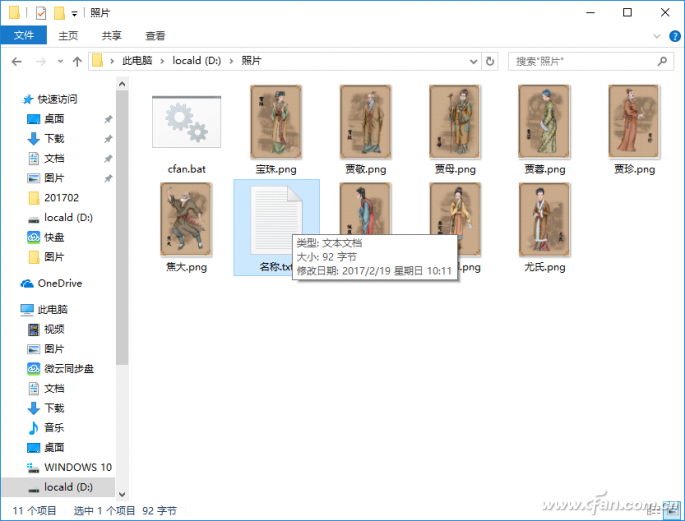
Figure 1: Generating the file list
Run the batch process under "D:\Photos". Open "D:\Photos\Name.txt" to view the filenames in the current directory. Use Notepad's "Edit → Replace" function to remove ".PNG" by replacing it with a null character. After completing the replacement, you'll obtain the file names (see Figure 2).
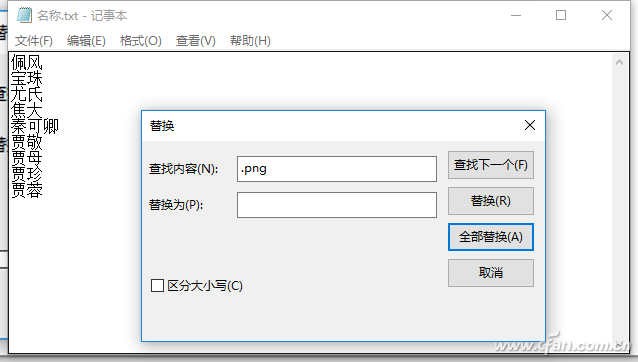
Figure 2: Replacement operation
Copy the resulting characters and paste them into column A of Excel. Begin typing the corresponding employee names next to the photos in column A and add any additional descriptive text as needed (see Figure 3).
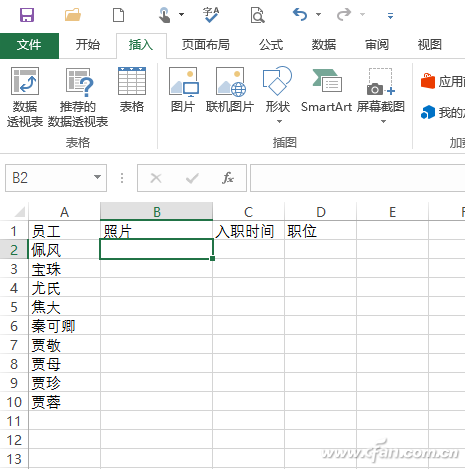
Figure 3: Pasting extracted data into Excel
Select cell B2 and click "Insert → Picture → From File". Choose the appropriate employee photo and insert it into cell B2. Adjust the photo size to fit best within the cell. Then modify the row height and column width of cell B2, observing the exact values displayed while adjusting. Aim for integer values, such as a width of 155 pixels (18.75 cm) and a height of 190 pixels (142.5 cm) in this case, as a reference for the photo dimensions (see Figure 4).
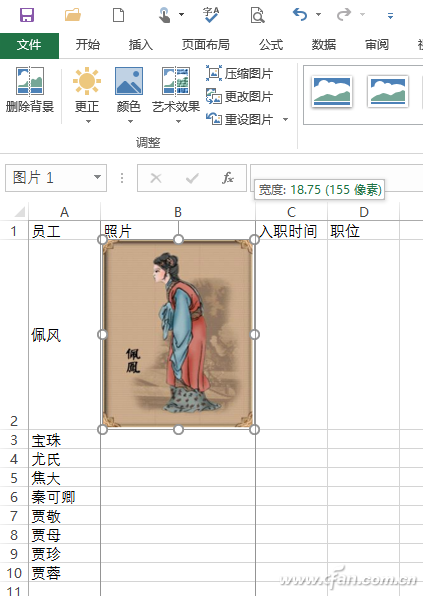
Figure 4: Determining cell width and height
Select column B, go to "Home → Format → Row Height" and "Home → Format → Column Width", setting the row height and column width to the values determined in B2. This ensures all cells in column B are adjusted to the desired size, allowing the inserted pictures to display correctly. Delete the image inserted in B2, then select B2 and input the formula "=IMAGE("".")" in the common column.
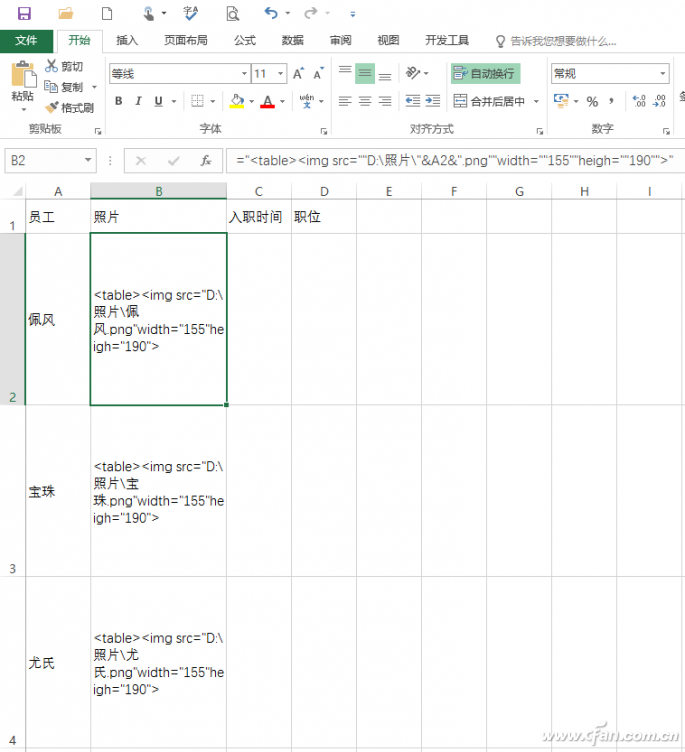
Figure 5: Inserting and filling the formula
Formula Explanation: This formula inserts a linked image in column B. The image name corresponds to the employee name in column A, while width and height adjust the photo to the appropriate pixel size. These two parameters effectively handle the batch adjustment of the inserted images.
Select B2 and its filled formula cells, right-click, and choose "Copy". Paste the copied code into Notepad. Return to the Excel window, right-click the cell containing the inserted formula, and choose "Clear Contents" to remove the formula. Then copy the code from Notepad (see Figure 6).
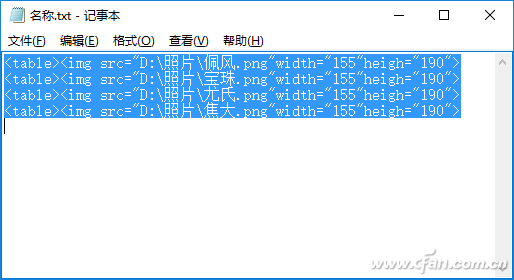
Figure 6: Copying to obtain the code
Select B2 in Excel, right-click, and choose "Paste → Paste Special → Unicode Text". Paste the code into Excel as "Unicode Text" so that Excel automatically reads the linked image corresponding to the code (see Figure 7).
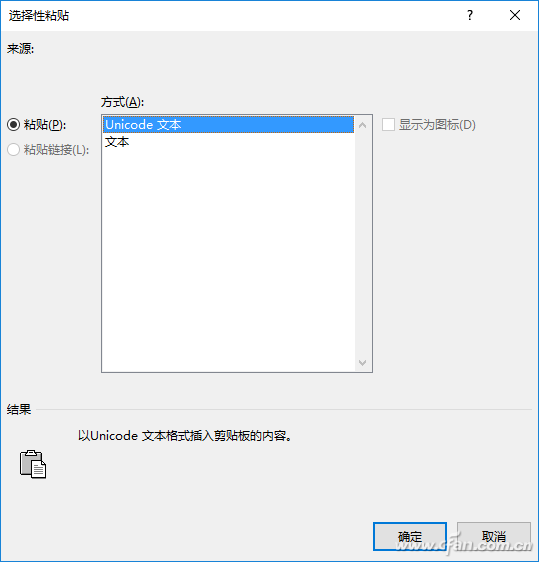
Figure 7: Special Paste
Because Excel supports HTML code, the linked image pasted as Unicode text will automatically display in Excel, with the size adjusted automatically by the code. The inserted picture corresponds to the employee listed in column A, thus completing the batch insertion and automatic adjustment of the photos (see Figure 8).
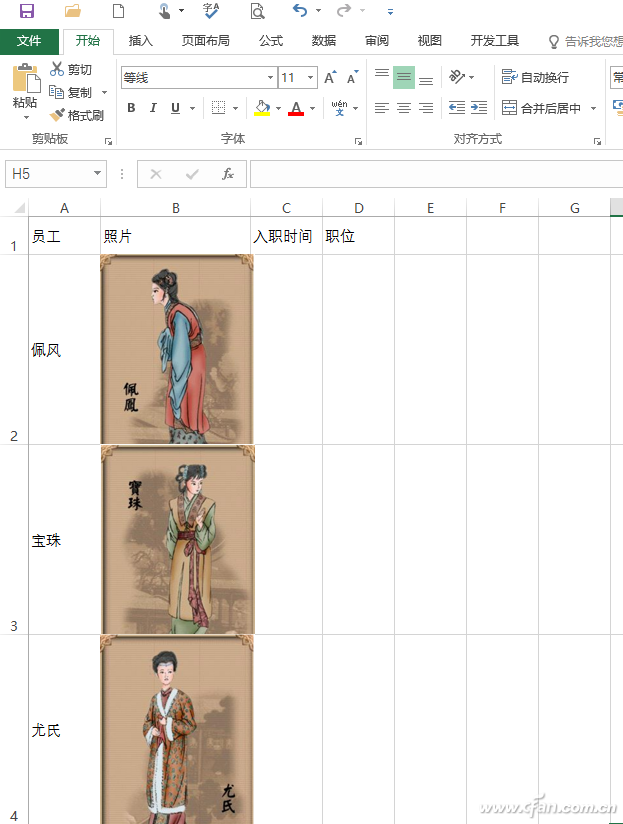
Figure 8: Automatic photo insertion
As the code is used to link images, replacing images becomes straightforward. For instance, if multiple employees share the same name but differ in gender, this can be easily managed by updating the photo name and the corresponding code. For example, if the company has both male and female employees named Zhang Xing, add "(Female)" to the female Zhang Xing's photo filename as "Zhang Xing (Female).png". Simultaneously, change the employee name in column A to "Zhang Xing (Female)". Delete the existing photo in B5, update the code in Notepad to "IMAGE(""Zhang Xing (Male).png"")", and paste it into B5 in Unicode text format to replace the photo. Similar operations apply for replacing the male photo.
Tips:
The above method is ideal for batch importing photos into Excel. If you wish to export these photos later, save the Excel document as a webpage to retrieve a "files" directory with the same name as the saved file, containing all the inserted images. Alternatively, when inserting images, you can include them as hyperlinks, using similar code such as . While embedding the image in a table aligns it vertically, placing it in the body aligns it horizontally.
Insulated Terminals,Terminals,High-quality insulated terminals
Taixing Longyi Terminals Co.,Ltd. , https://www.txlyterminals.com